User guide
The rest of the app, once Getting started has you rolling
presets. Every figure here is captured from the running app by
scripts/docshots.mjs.
Presets and looks#
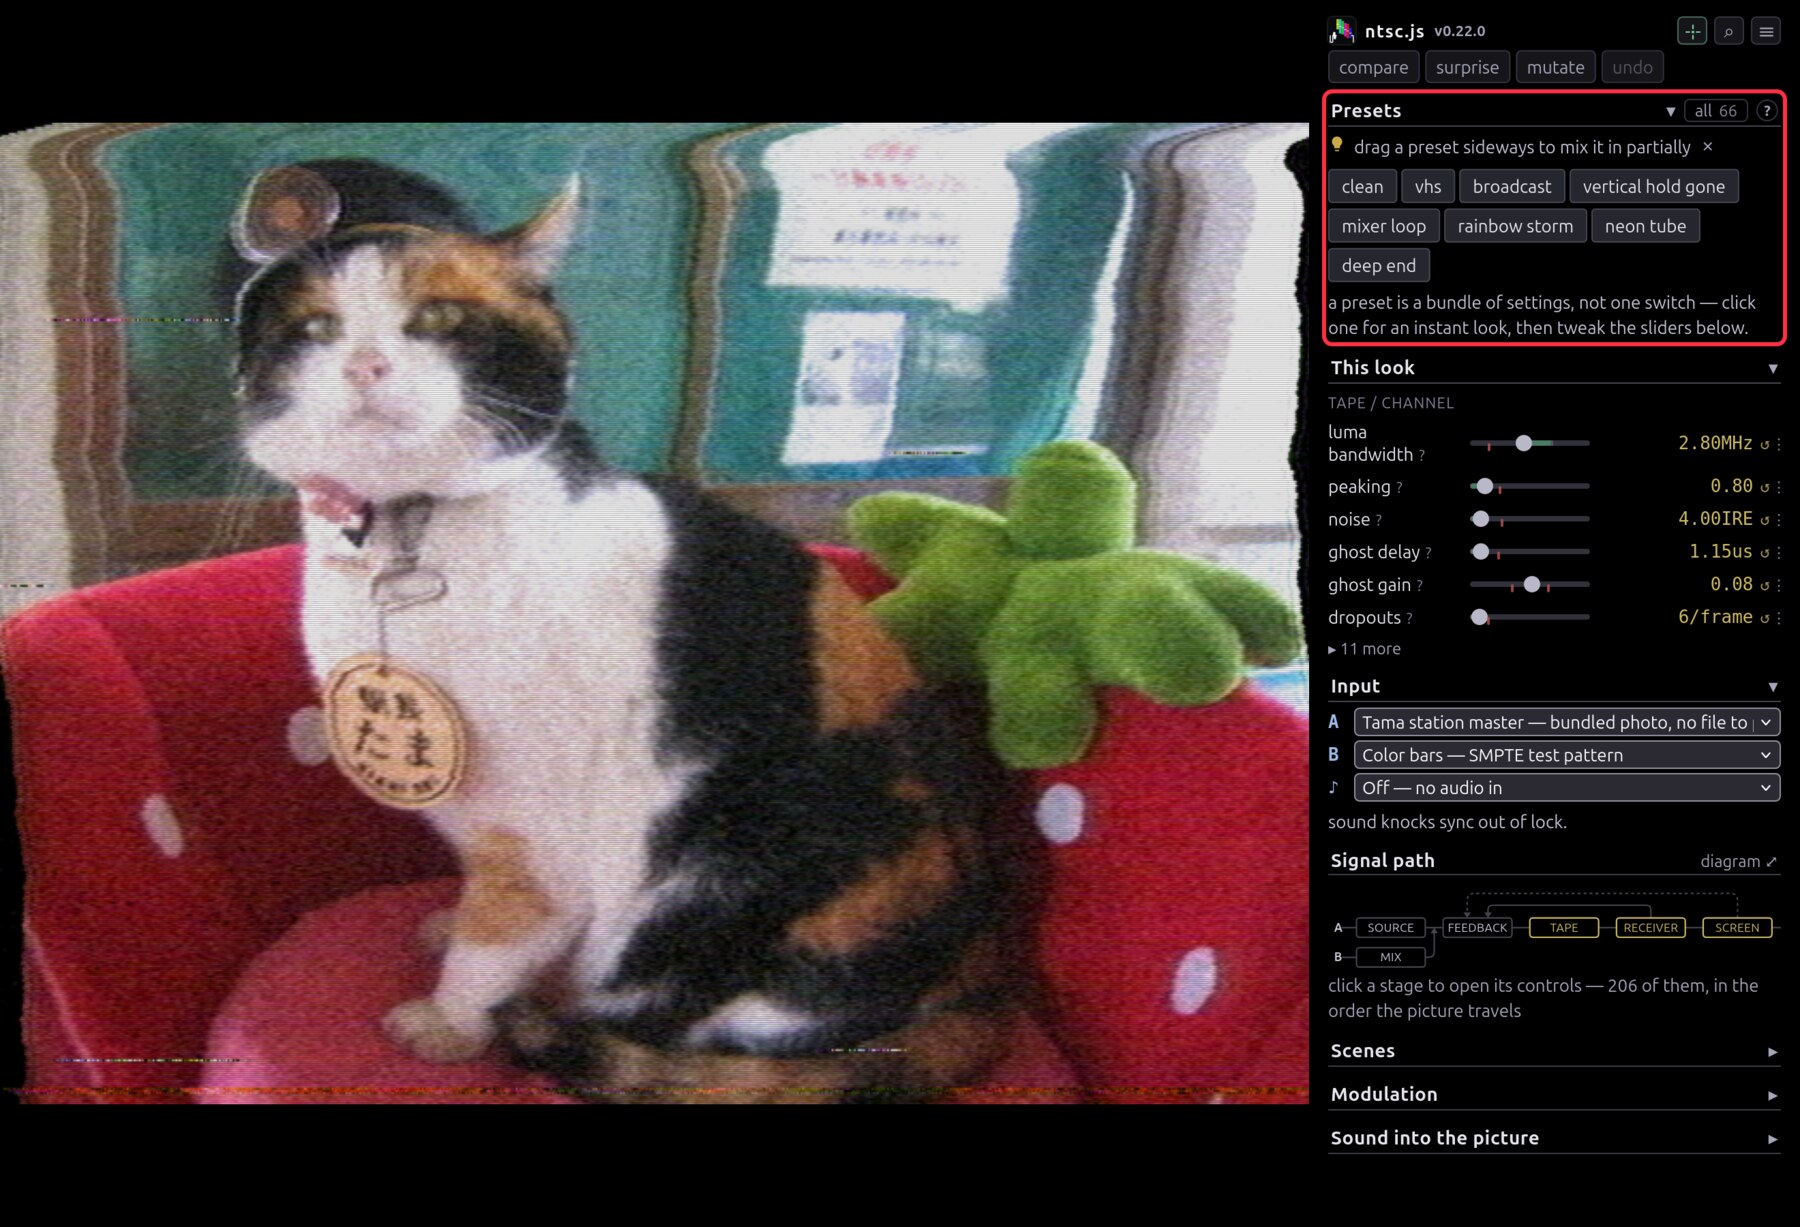
Click a preset and the board jumps to it. Drag it sideways and it goes in part of the way instead, stacking onto whatever is already there.
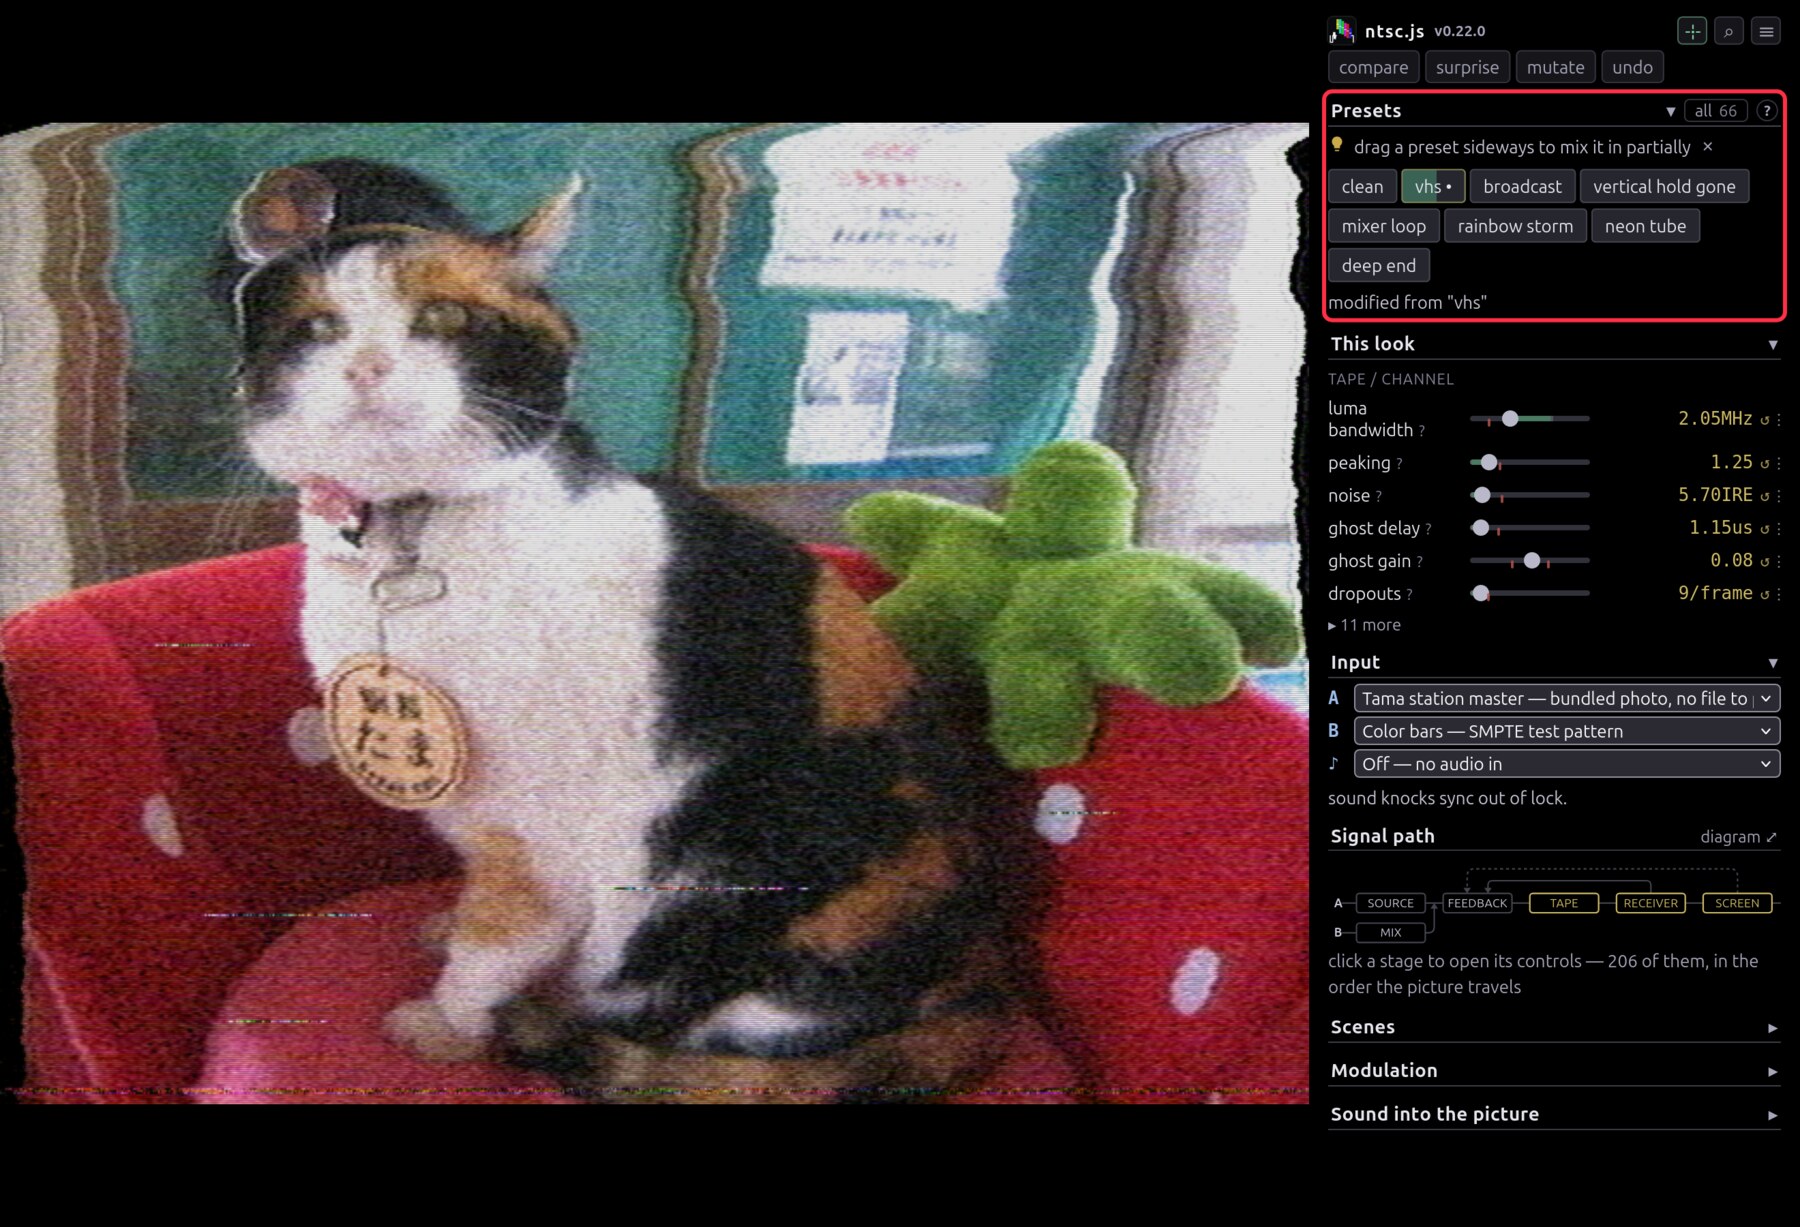
- This look lists every control the current look has moved off stock, as real sliders, filed under the module each one came from. Drag one and you're editing the preset; hit a reading's ↺ to put that one piece back.
- clean resets, and hold to compare (or holding
c) previews the clean signal. - random look stacks a few random presets into something you haven't seen.
random nudge keeps your look and jogs every control a little. Hold
shiftfor a wilder roll oraltfor a gentler one. The die on a stage heading nudges just that stage. - morph decides how long a new look takes to arrive. At
cutit lands in a frame; at 8s the whole board travels there, through looks no preset holds. Rolls chain, so hitting random look every few seconds wanders continuously rather than snapping between stops. stop here or grabbing a slider keeps the half-way look. - undo (
ctrl+z) steps back through all of it andctrl+shift+zsteps forward again. A step takes as long to arrive as morph says.
Sources#
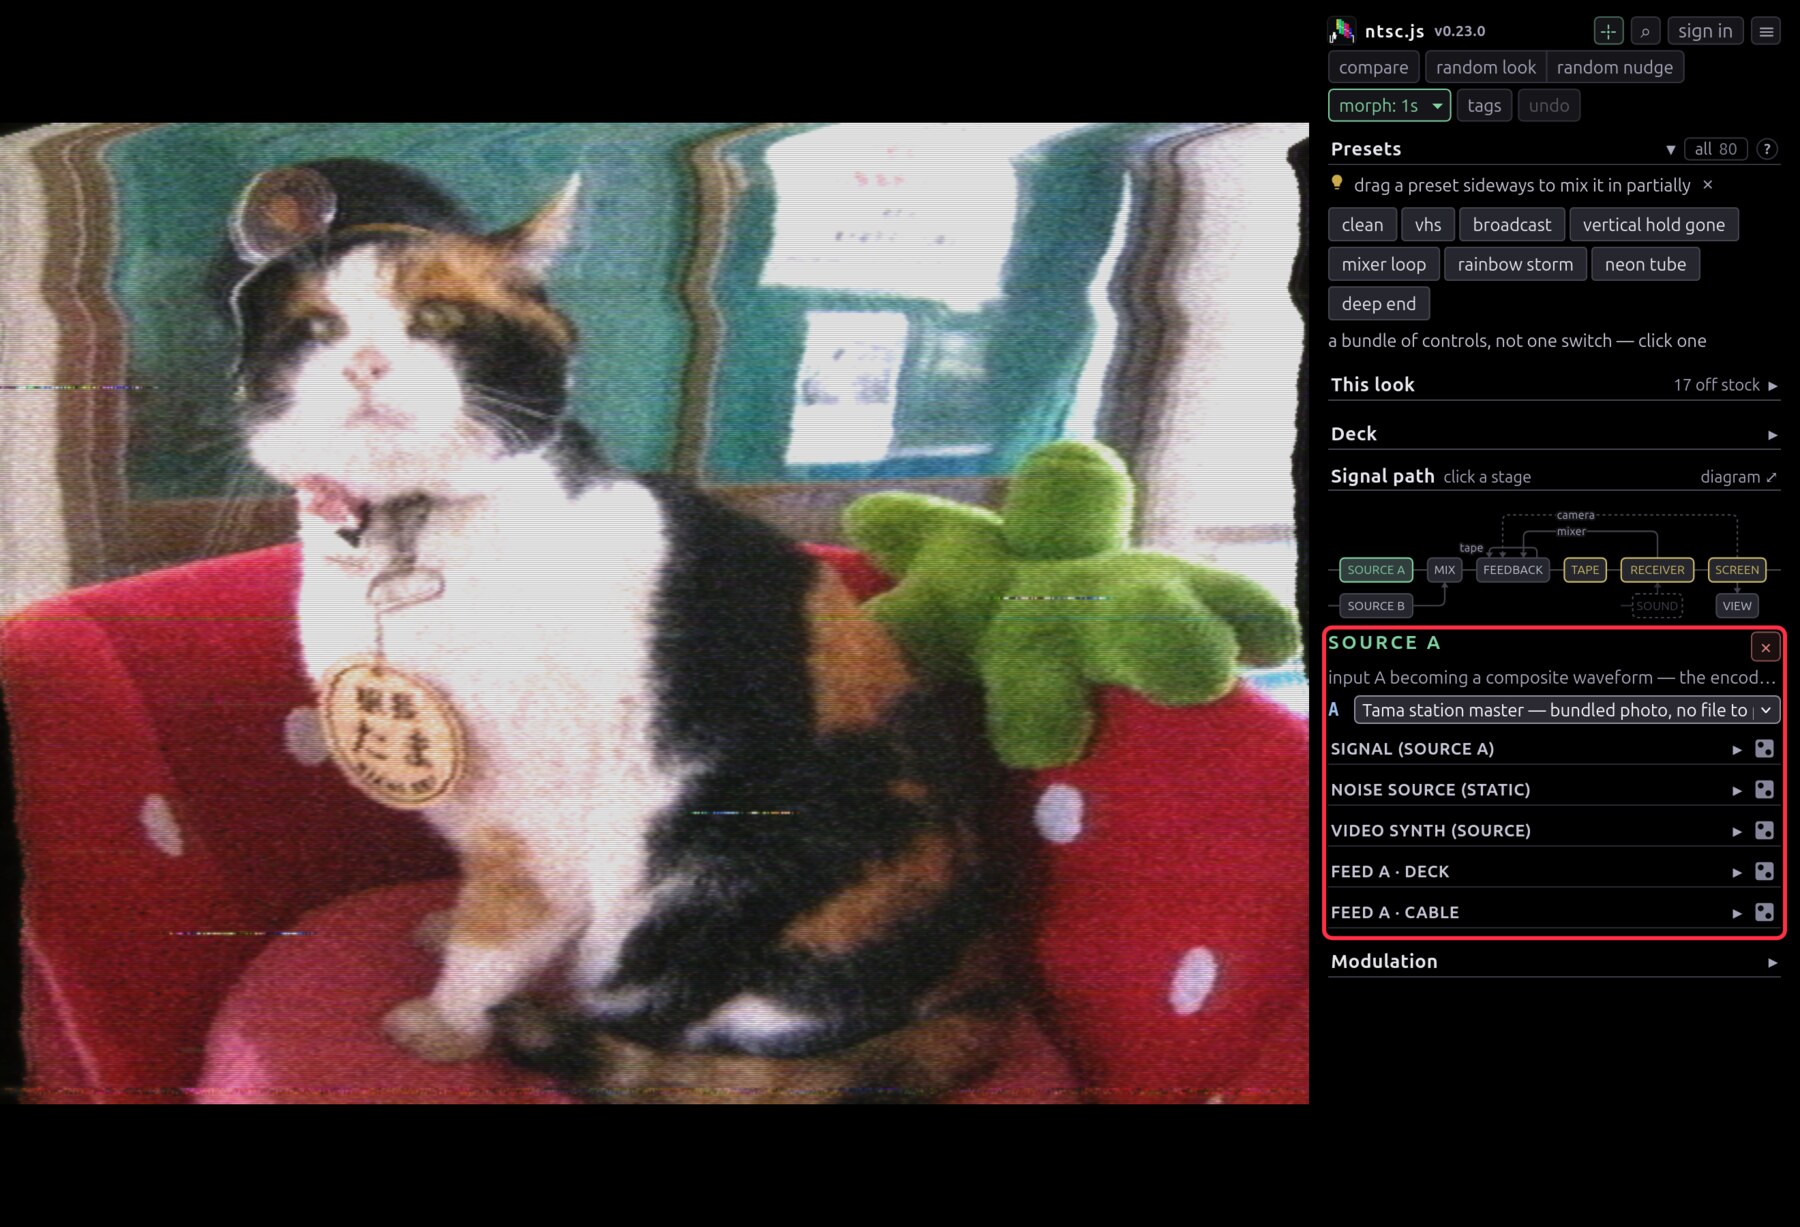
Each source is picked at the head of its own stage: A on the SOURCE A box, B on SOURCE B, sound on SOUND.
- A takes bars, sweep, snow, the bundled photo, a file of your own, or a webcam. The webcam is also how an RCA capture dongle gets real gear in here.
- Clips… is a shelf of footage you've opened before, replayable into either deck without going back to the file dialog. You can add a whole folder at once. Chrome and Edge can hold a folder open across a reload; Firefox and Safari can't, so re-pick it once and every row reconnects by name.
- Public archives covers Wikimedia Commons and archive.org. Random Commons and Random archive.org roll a file out of a curated pool, and clicking the caption rolls the next one. Browse… searches both at once with a ranked grid of thumbnails, durations included. archive.org won't serve byte ranges, so a pick downloads the whole clip first and the caption counts it out. ★ keeps the file on your shelf by name rather than copying it, and a kept clip is cached locally so the second view is instant. ↗ opens its page upstream, where the licence and the photographer are.
- Video synth is two oscillators, a combiner and a colorizer with no input. Its one real knob is frequency: on a multiple of line rate you get standing bars, a few hertz off they lean and creep, at field rate it's a vertical gradient, and at 3.58 MHz it lands on the subcarrier and comes back as flat colour.
- Screen / window… shares a window, tab or display into the chain. Point it at this window and the loop closes.
- Teletype… prints what you type onto a 40×24 dot-matrix card. The draw tab paints on the same page, and the dither shades are worth a try, since a dither is exactly what dot crawl and chroma bleed feed on. crawl rolls the card and boil redraws it eight times a second, so the artifacts get decided again every frame.
- B is a second source, deliberately not genlocked, so it beats and tears against A. Its controls live in the Mix box, along with the chroma key.
- ♪ is audio in: a mic, a track, or the clip on screen playing its own sound. It does nothing until you turn up a knob in the Sound box.
Running locally adds a YouTube… source, through yt-dlp on the dev server.
Cue and loop#
Anything with a timeline gets a seek bar and a cue button. Press it to mark
the playhead, press again to loop between the two marks, and a third time to
drop the loop and re-cue. ⇤ stabs back to the cue without waiting for the
lap, which is a stutter you play by hand. i and o do the same from the
keyboard, shift puts them on source B, and both decks loop independently. A
loop rides along in a shared link but isn't part of a look.
Whether a loop wraps cleanly is down to how the file was encoded, since jumping
back costs whatever the decoder has to walk from the nearest keyframe. The cue
row shows what your loop's own jump back costs, as wrap 0.15s, measured on the
clip in front of you. Under a tenth of a second you won't see it; above that the
picture catches every lap, so mark the loop somewhere else or re-export with
denser keyframes (-x264-params keyint=30). Sparsely-keyframed footage can be
ten times worse than dense footage, and scripts/loopseek.mjs --file= will say
which yours is.
Working down the chain#
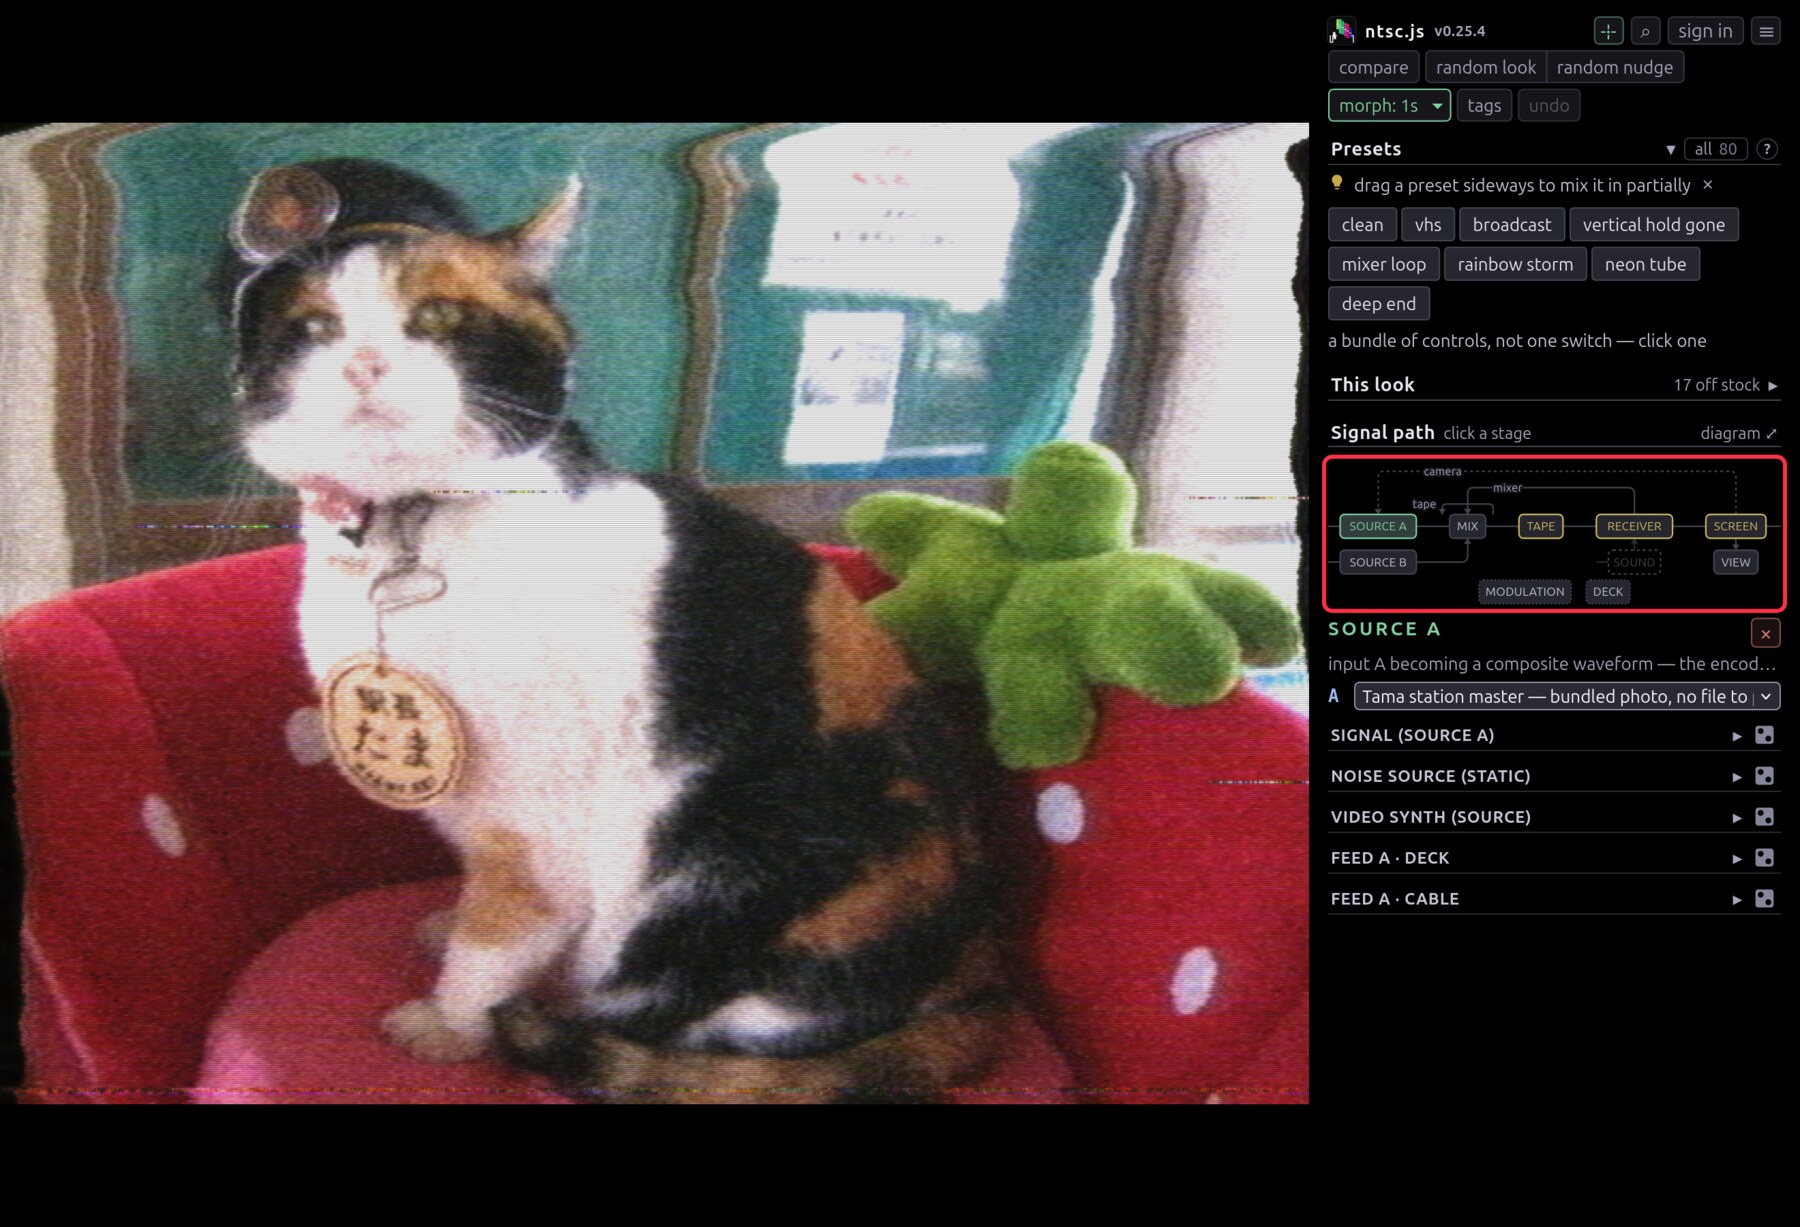
The map at the top of the sidebar is the whole signal path, and every box on it is a button. Amber marks a stage you've moved something in, and a dashed Source B and Mix mean nothing is patched into B yet.
The three wires arcing over the trunk are the feedback loops, and each run is its own button. camera is optical and drawn dashed: it shoots the tube's face and comes back in ahead of the encoder. mixer is the composite bus patched into itself. tape is a loop bin straddling the mix. diagram ⤢ draws the same path with room for what the miniature leaves out.
DECK and MODULATION are the two boxes with no wire on them, on a row of their own below the chain. They open the same way the rest do, and they are drawn apart because they are patched into the controls rather than into the signal: nothing goes through either.
MODULATION is the hand you set running and leave — LFOs, drift, the audio envelope and the stab gate. DECK is the hand that is on it now: the transition lever and its wipe patterns, the inset, both tape transports, the tracking knob and the hold that stops the frame dead. Every row in the deck is the real row from the stage that owns it, gathered by the gesture that moves it rather than by where the fault happens — so a take is one surface instead of four stages. Its dot counts what is engaged, not what is off stock.
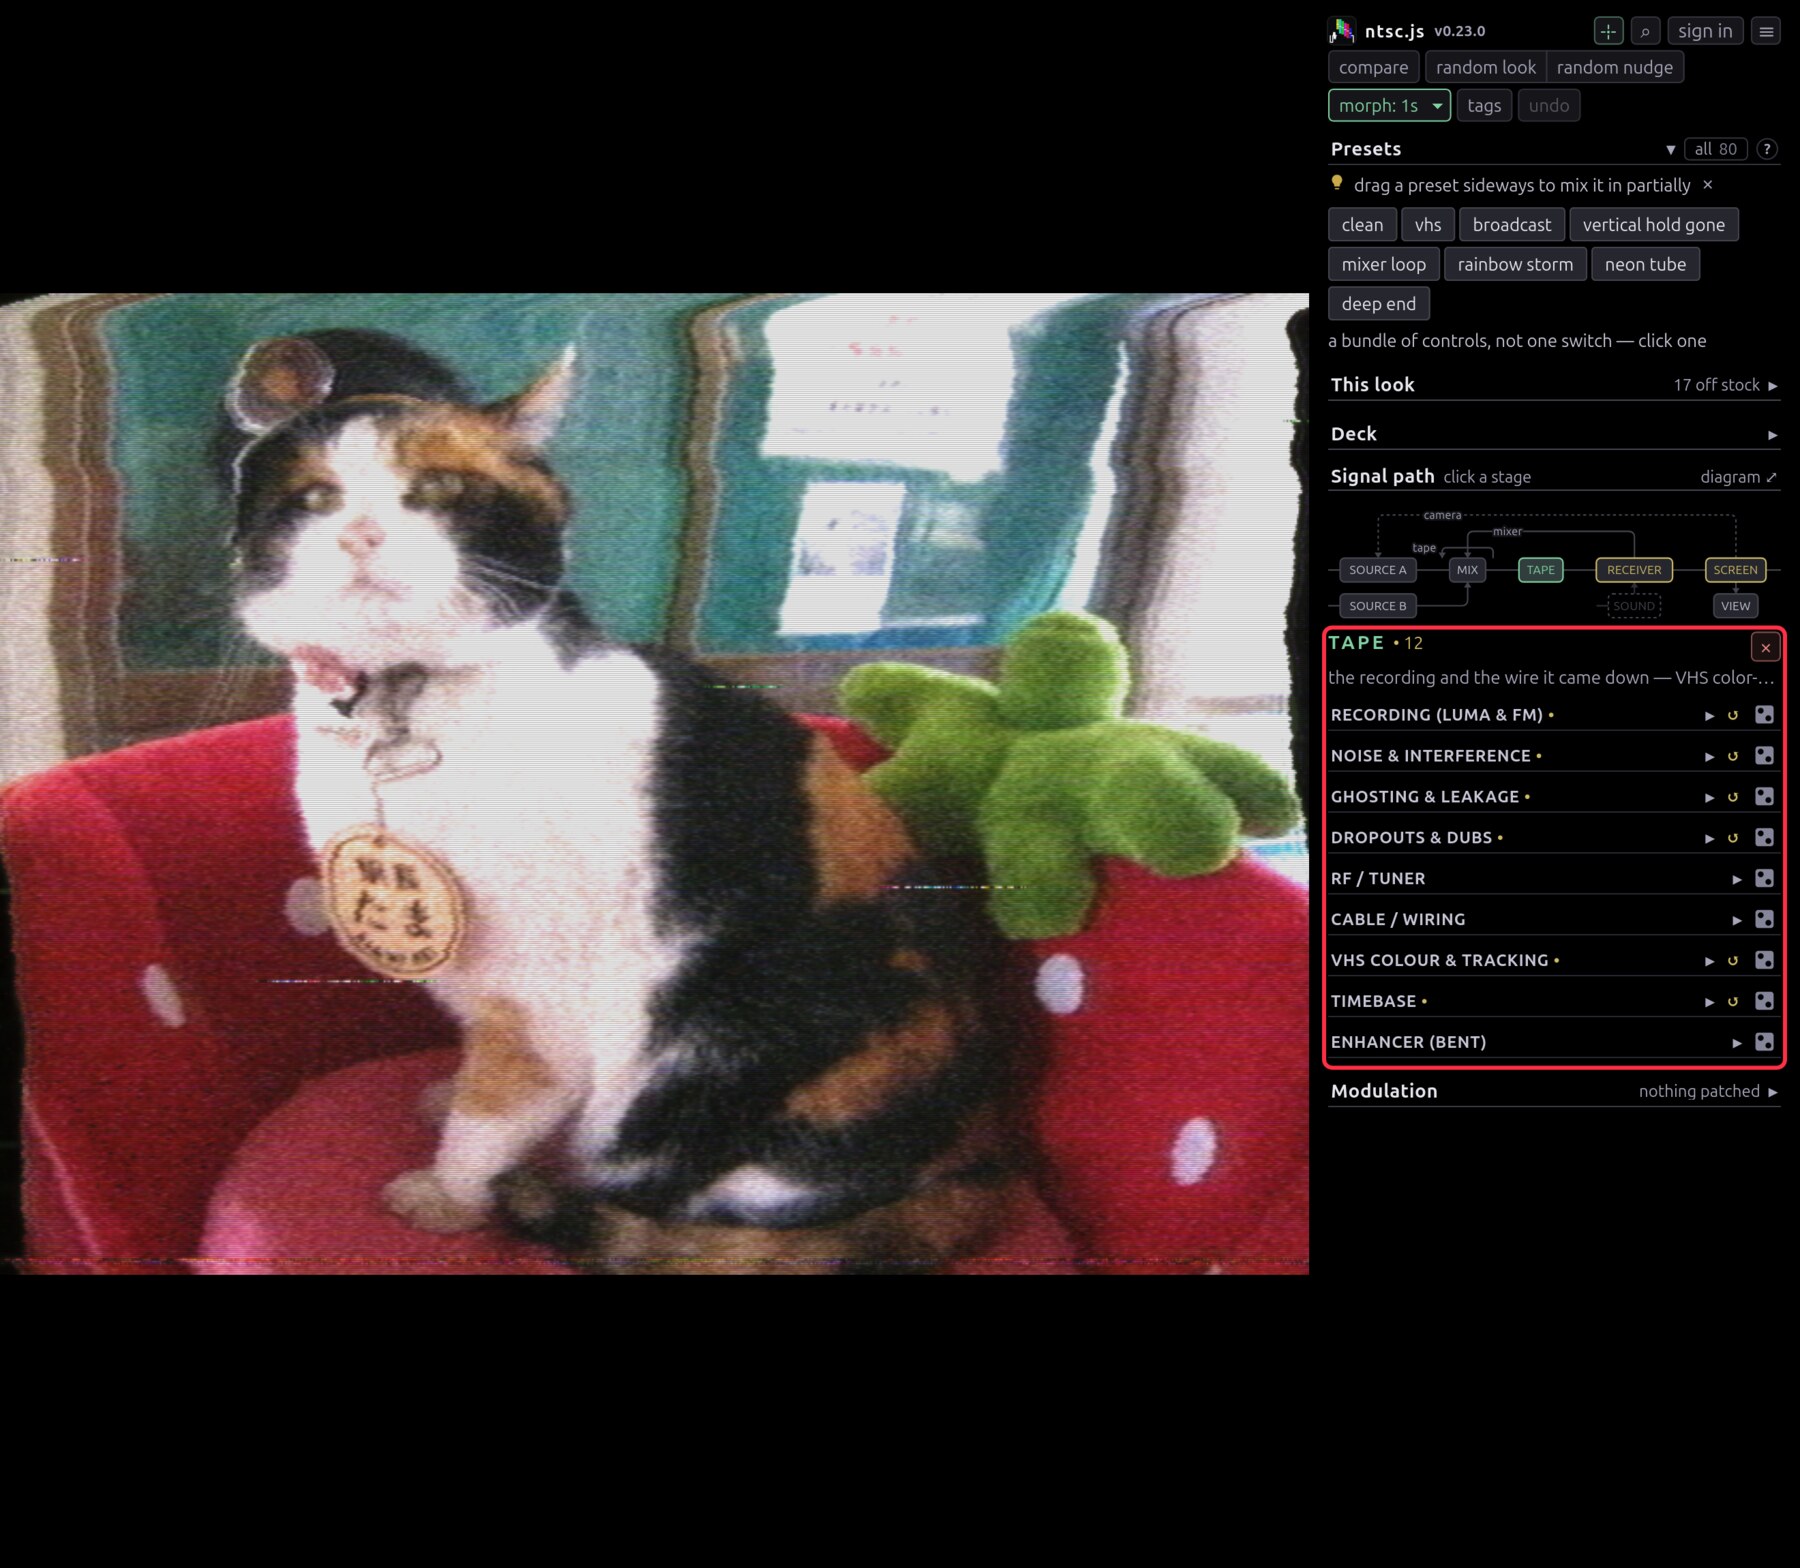
- • 10 counts what you've moved in that stage. Click it to jump there.
- ? on a slider explains the fault it models.
- A reading in amber is off stock. ↺ puts it back, as does double-clicking the track, and a group heading's ↺ reverts the whole module.
- ⋮ is the wiring: pin to Favorites, start an LFO, learn a MIDI knob.
- "inert — needs …" means another control gates this one. Click the note to go set it.
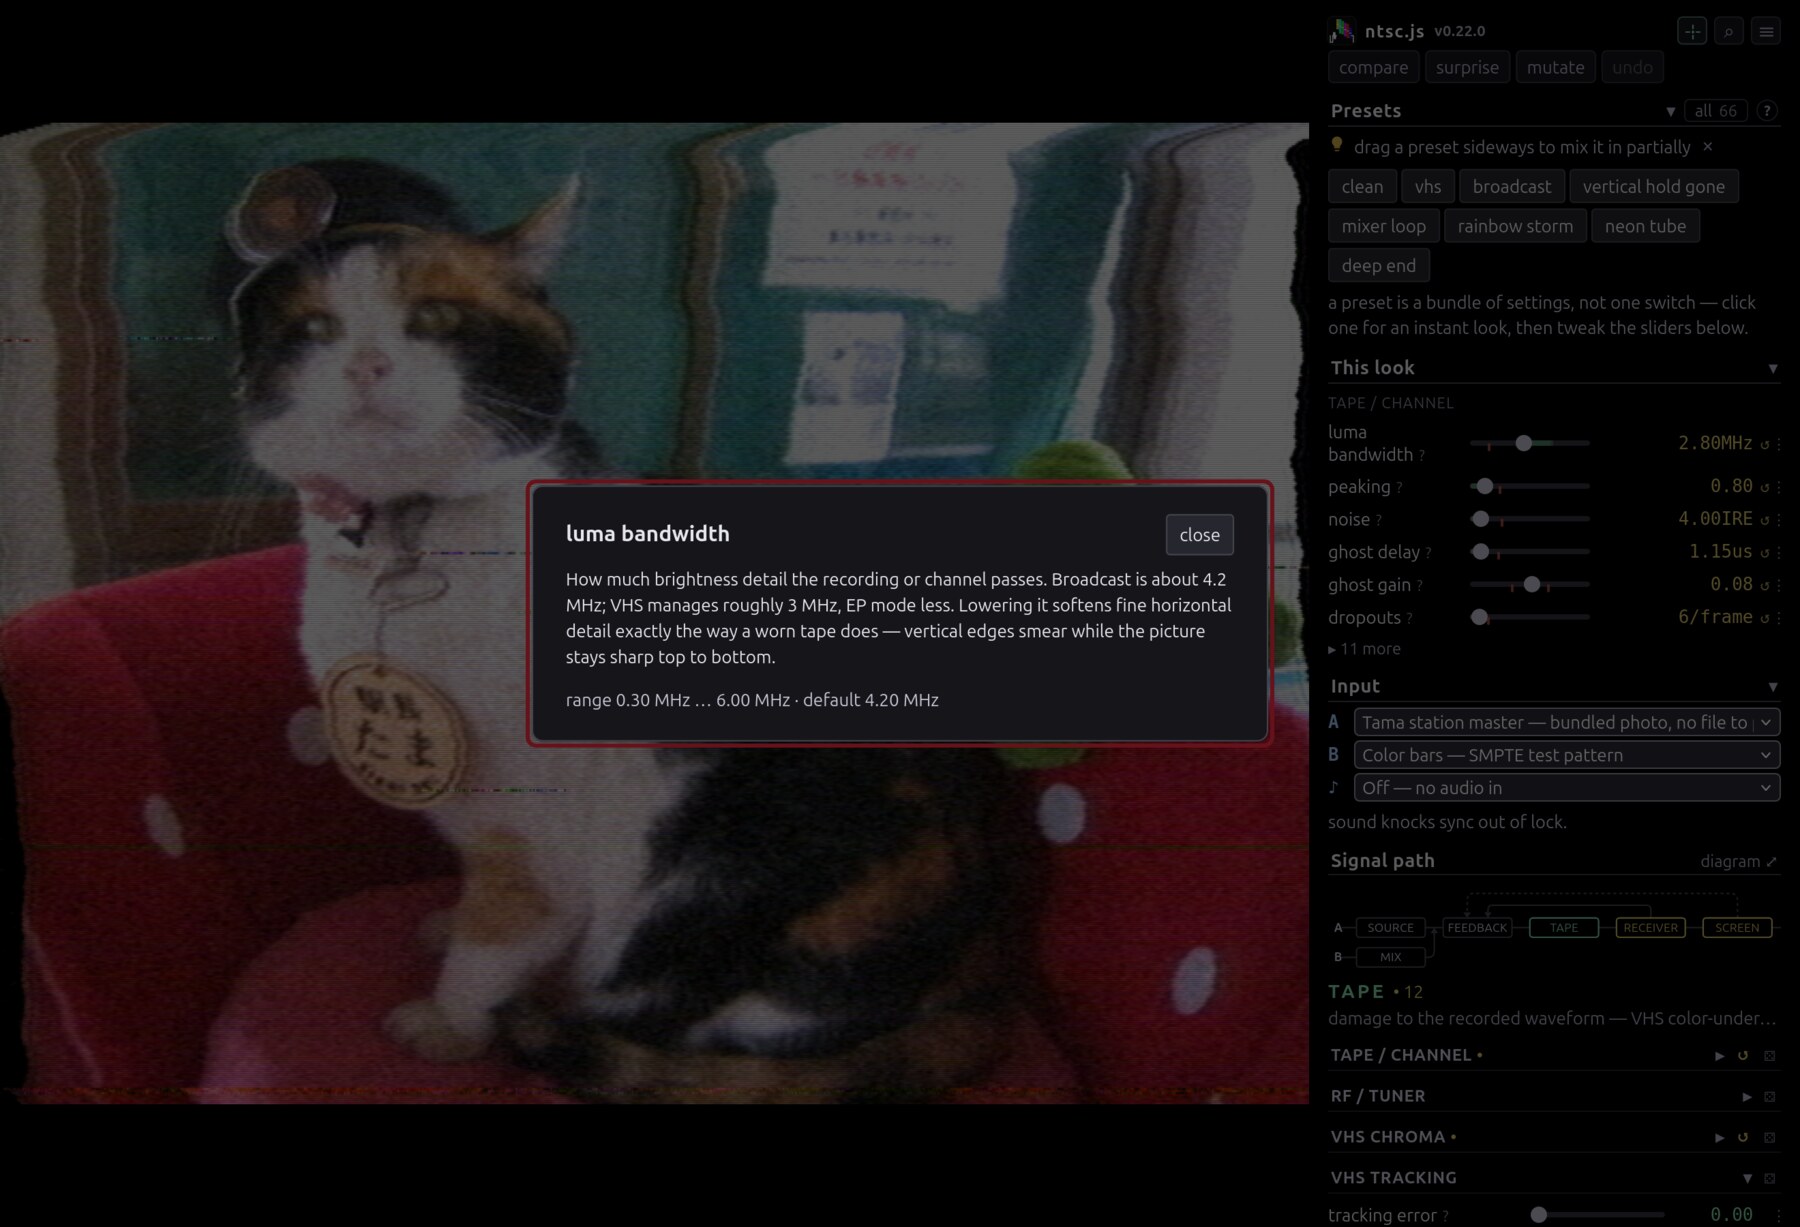
The help says what breaks in the hardware rather than what you'll see. The look is emergent, and knowing the cause is what tells you how two controls will combine. EFFECTS.md collects all of them on one page.
The loops are the exception to working left to right. They take the picture off the end of the chain and put it back at the front, so they compound whatever else is going on. Here's a camera aimed a hair off-axis from its monitor, over a tape that's dropping out underneath:
Finding a control#
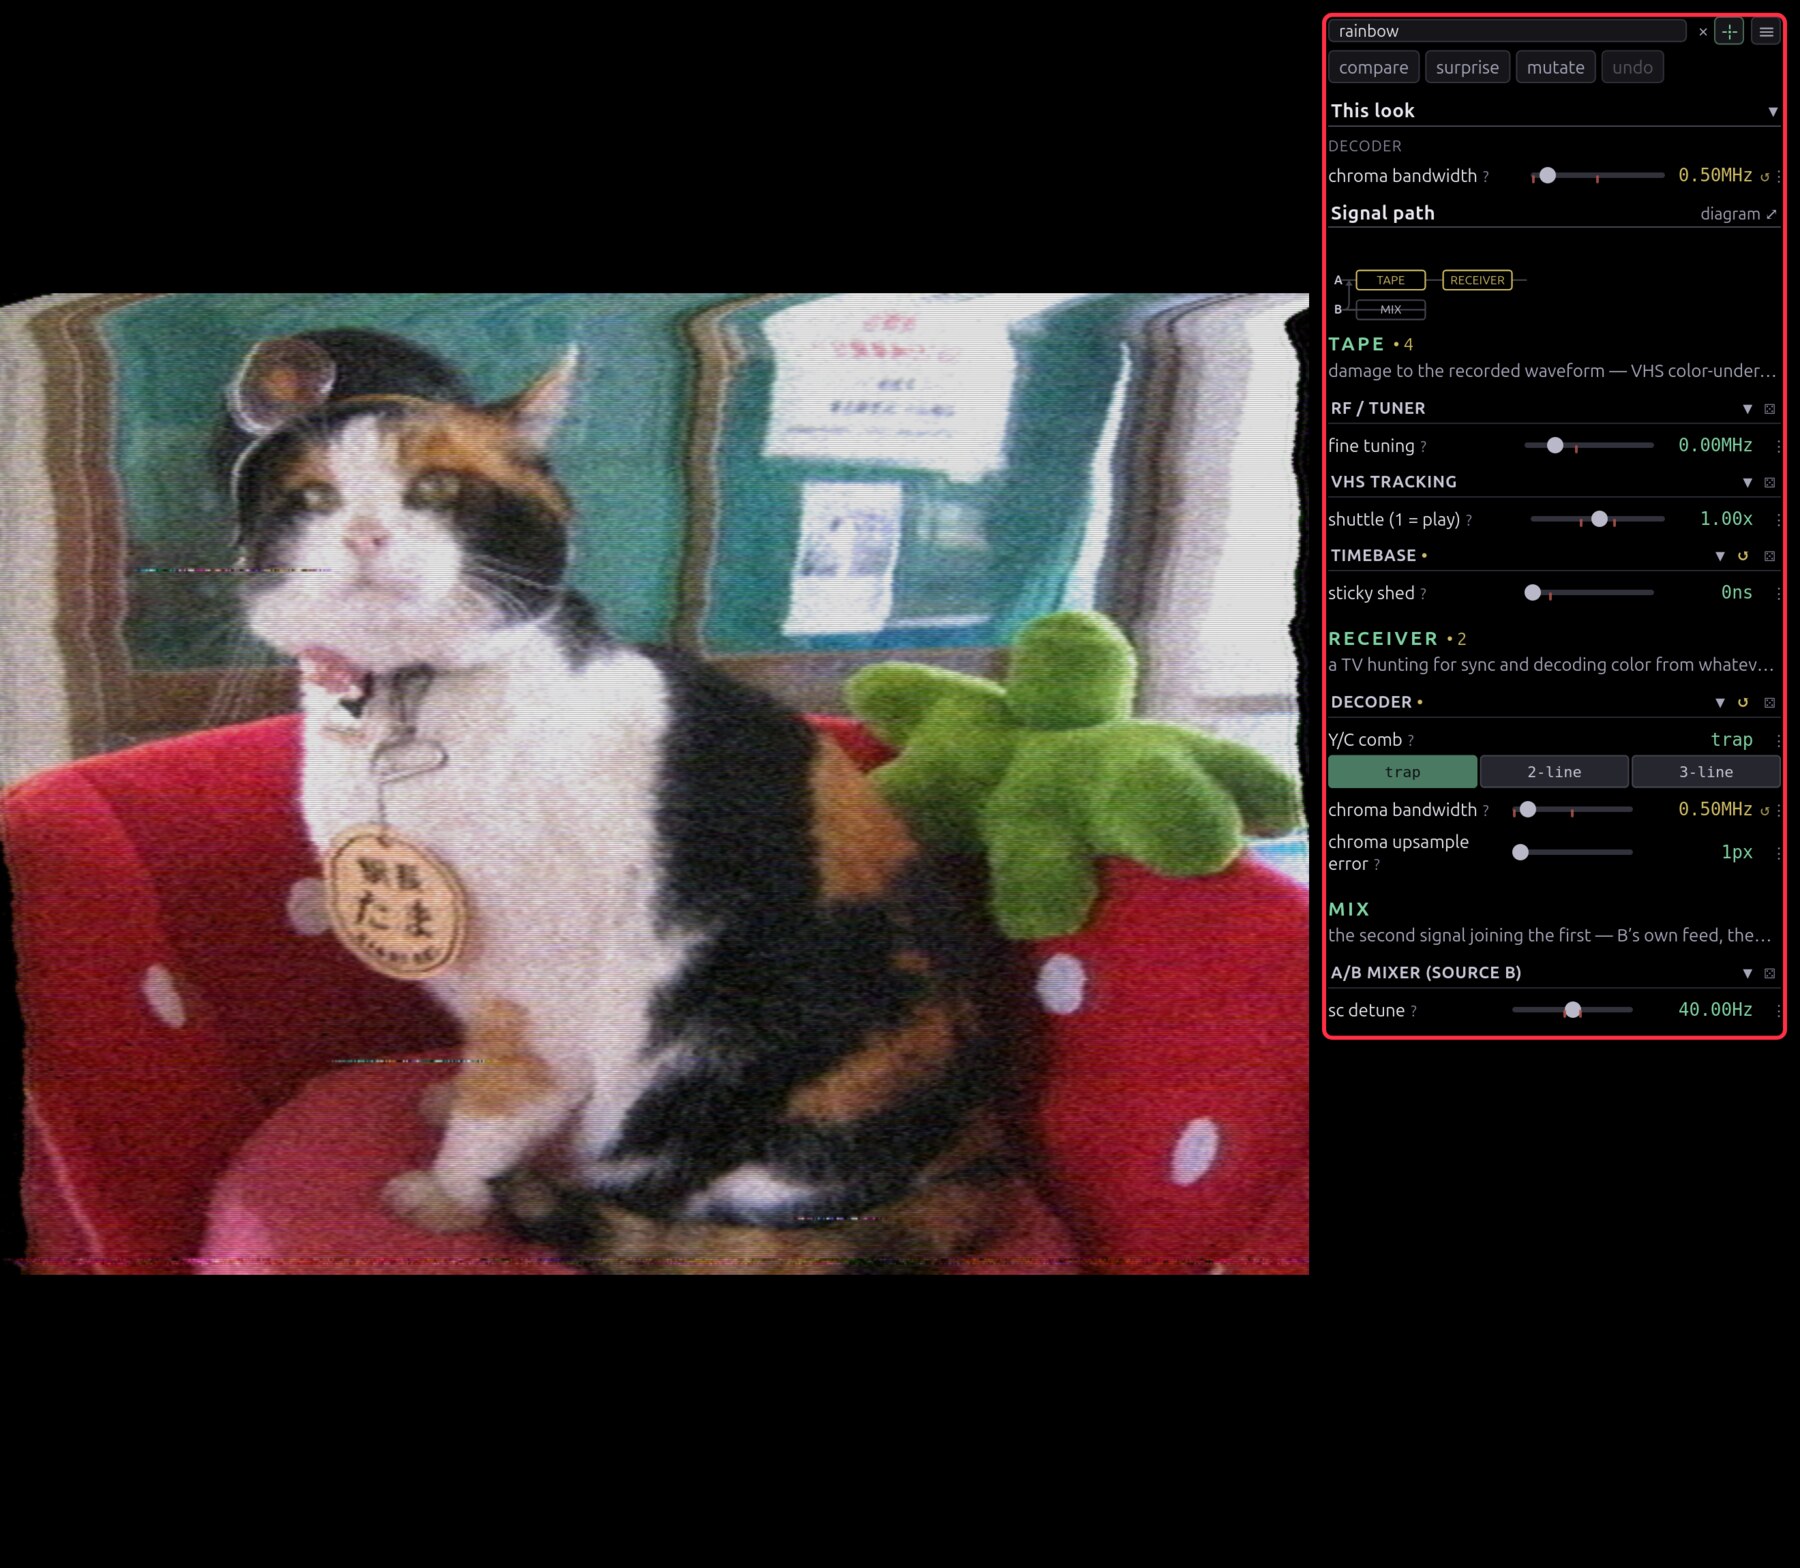
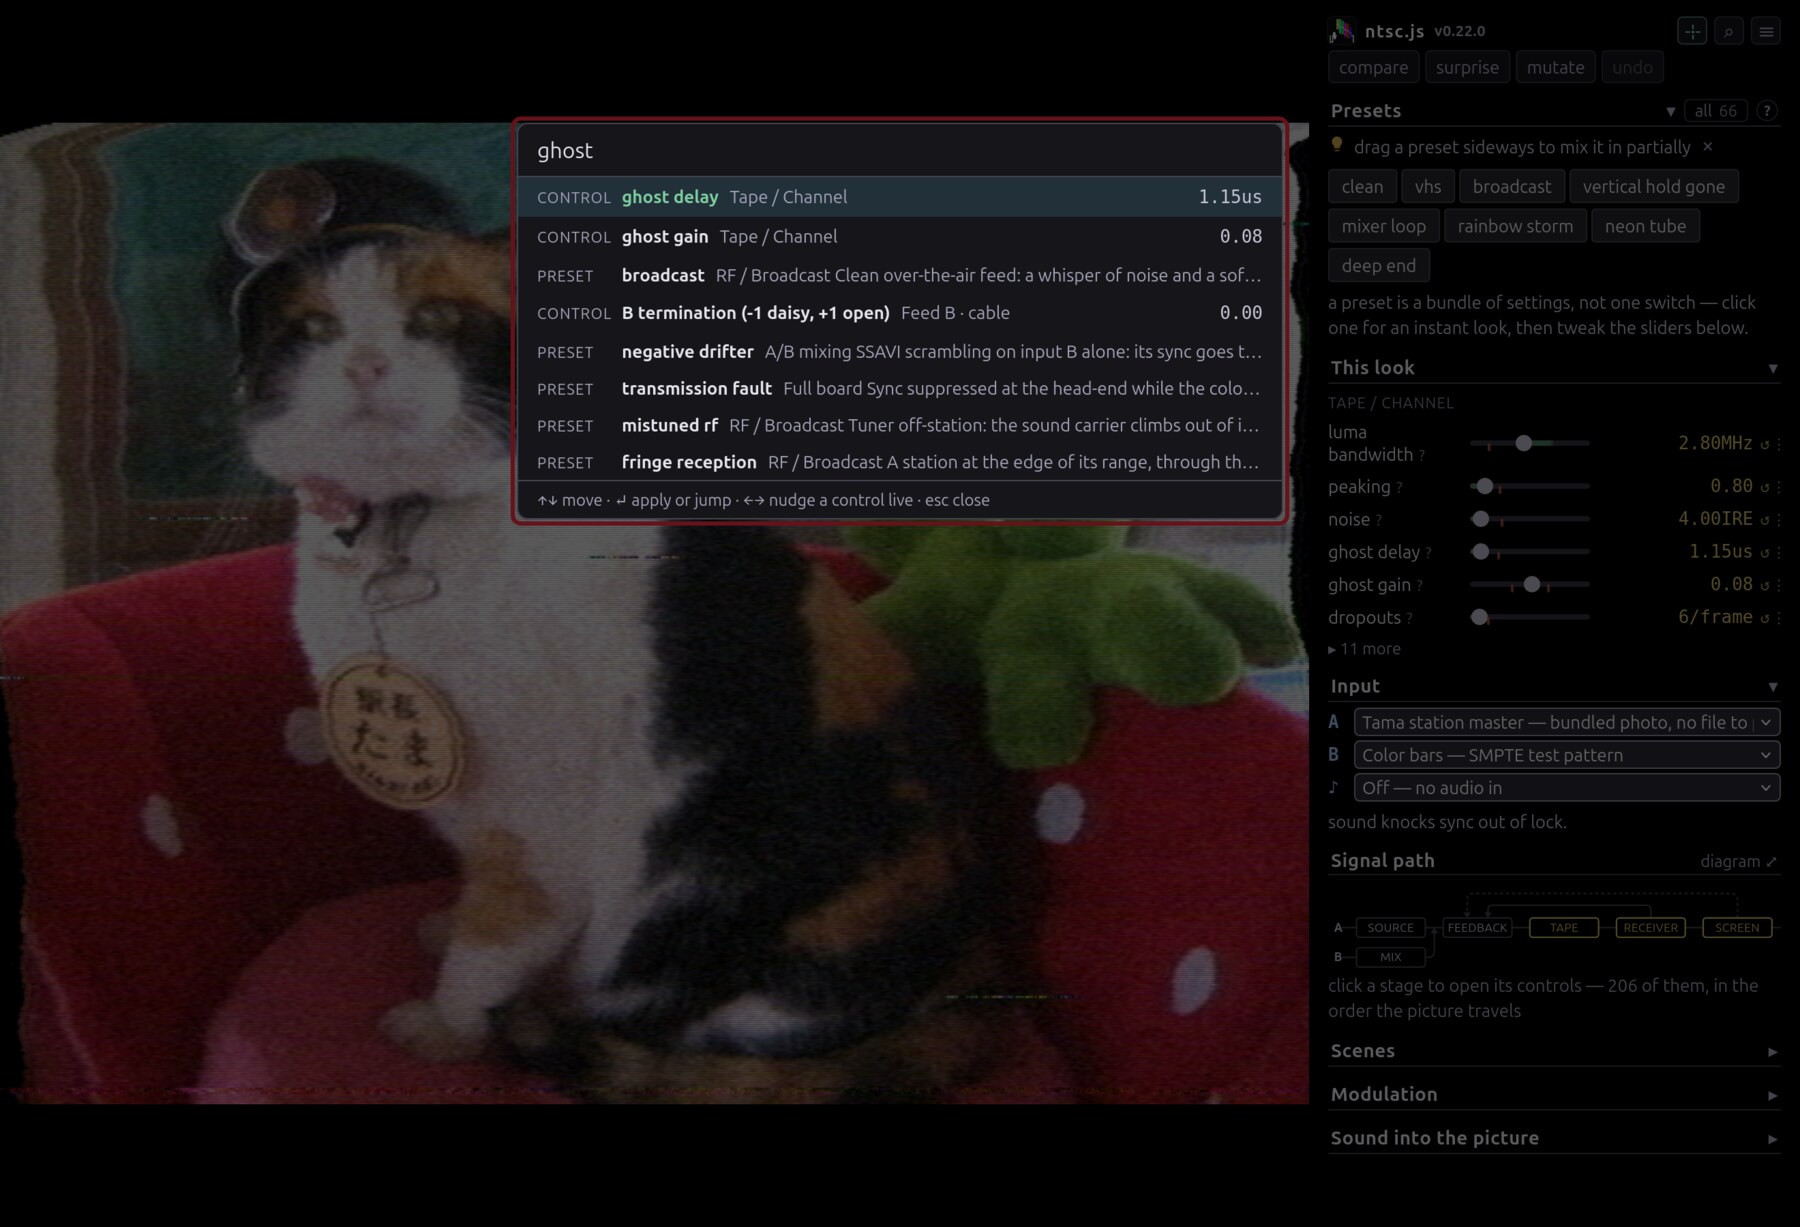
Both searches cover the help text, so you can hunt down an artifact without
knowing which knob makes it. The filter box narrows the panel. ctrl+k opens
the palette over presets, controls and actions at once, and ←→ nudges the
highlighted control live.
Making it move#
∿ on any control row sets that control wobbling, on a sine or triangle LFO, a random walk, smoothed noise, a sample-and-hold, a Lorenz attractor, the audio level or its hits, or a one-shot envelope you strike by hand or from a MIDI note. Depth is a fraction of that control's own range and the slider stays where it is, since it's the centre the motion happens around. That's why a preset or a link still holds the look.
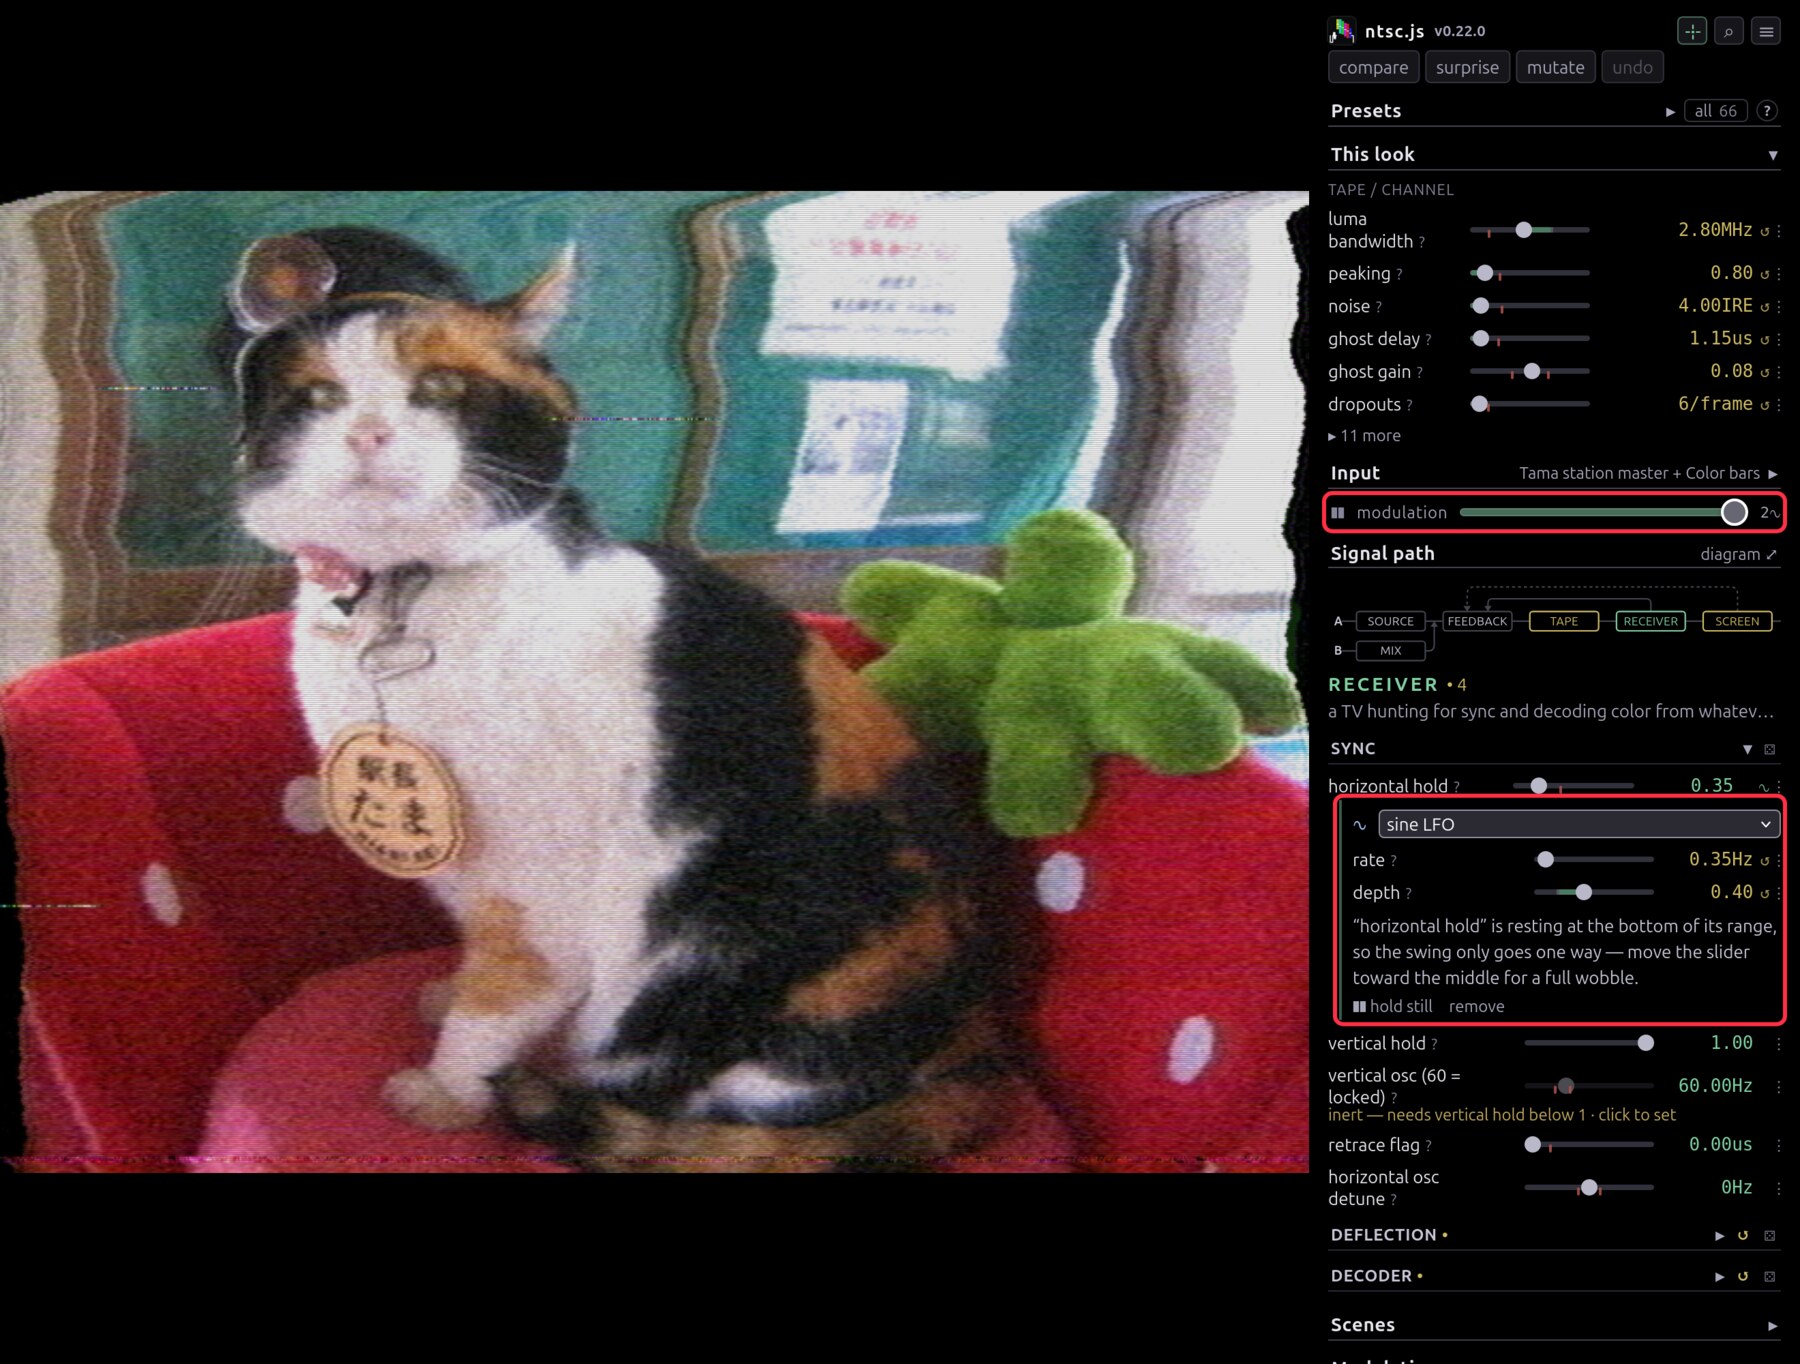
Once anything is moving, a motion strip appears above the filter box with one amount over every routing and a freeze. The 3∿ at the end counts what's being driven and filters the panel down to those rows, which is the only way to spot a moving control from outside its own row.
The MODULATION box on the map lists every routing you've patched with a count of the slots still free, and each entry opens the module its control lives in. At the top is the tempo: type a BPM or tap it in four beats, then lock any rate to it with the ♩ in that row's ⋮, from 1/1 down to 1/16. MIDI clock takes the tempo over whenever something is sending it. See MIDI.md.
stabs and stab length, below the tempo, flip the whole board back to clean for a few tens of milliseconds at a time. The look ends up poked into a clean picture rather than running flat out, and since phosphor, the feedback loops and the tape bin keep running through the flip, a stab leaves a trail behind it. Both rows lock to the beat.
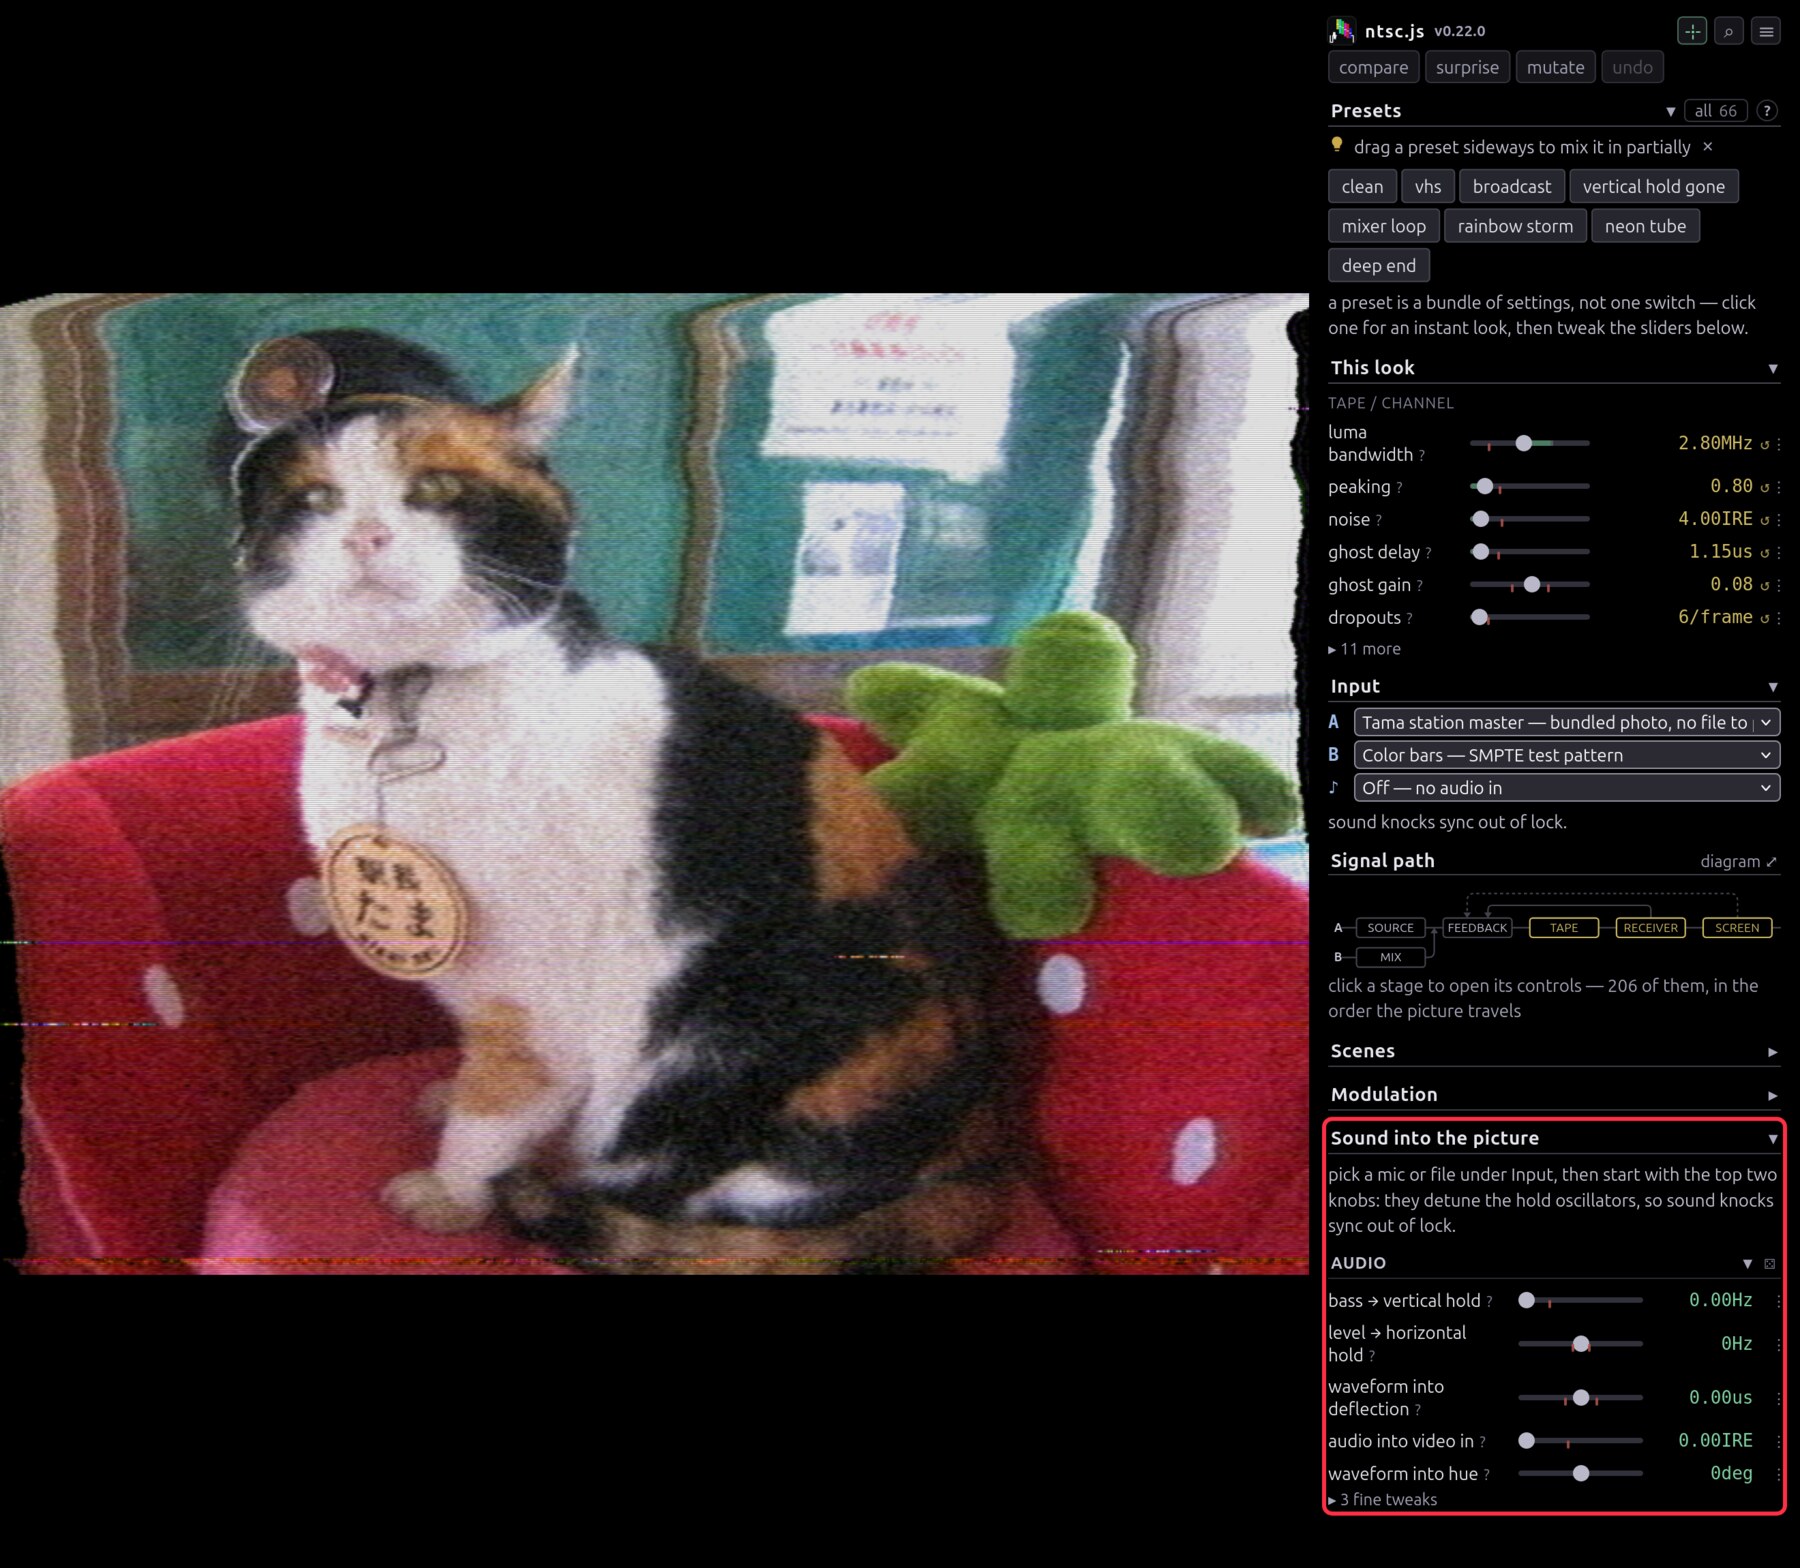
Sound hangs off Receiver, because that's where audio is patched in. Bass lurches the frame, level tears line hold, and the waveform draws itself on the screen. Pick something under ♪ first or the box opens onto nothing.
Keeping what you find#
saved in the look bar is your library, kept on your account, so it needs a
sign-in. ctrl/⌘+S saves under the offered name. The first nine sit on the
number keys: 1–9 recalls one and shift+1–9 overwrites it, with no naming and
no menu. Position in the list is the binding, so deleting the third save shifts
everything below it up a key.
A recall brings back the controls and the motion and leaves your input alone.
⧉ copies a link carrying both, source clip included. s saves a still and
r records a clip.
Looking closer#
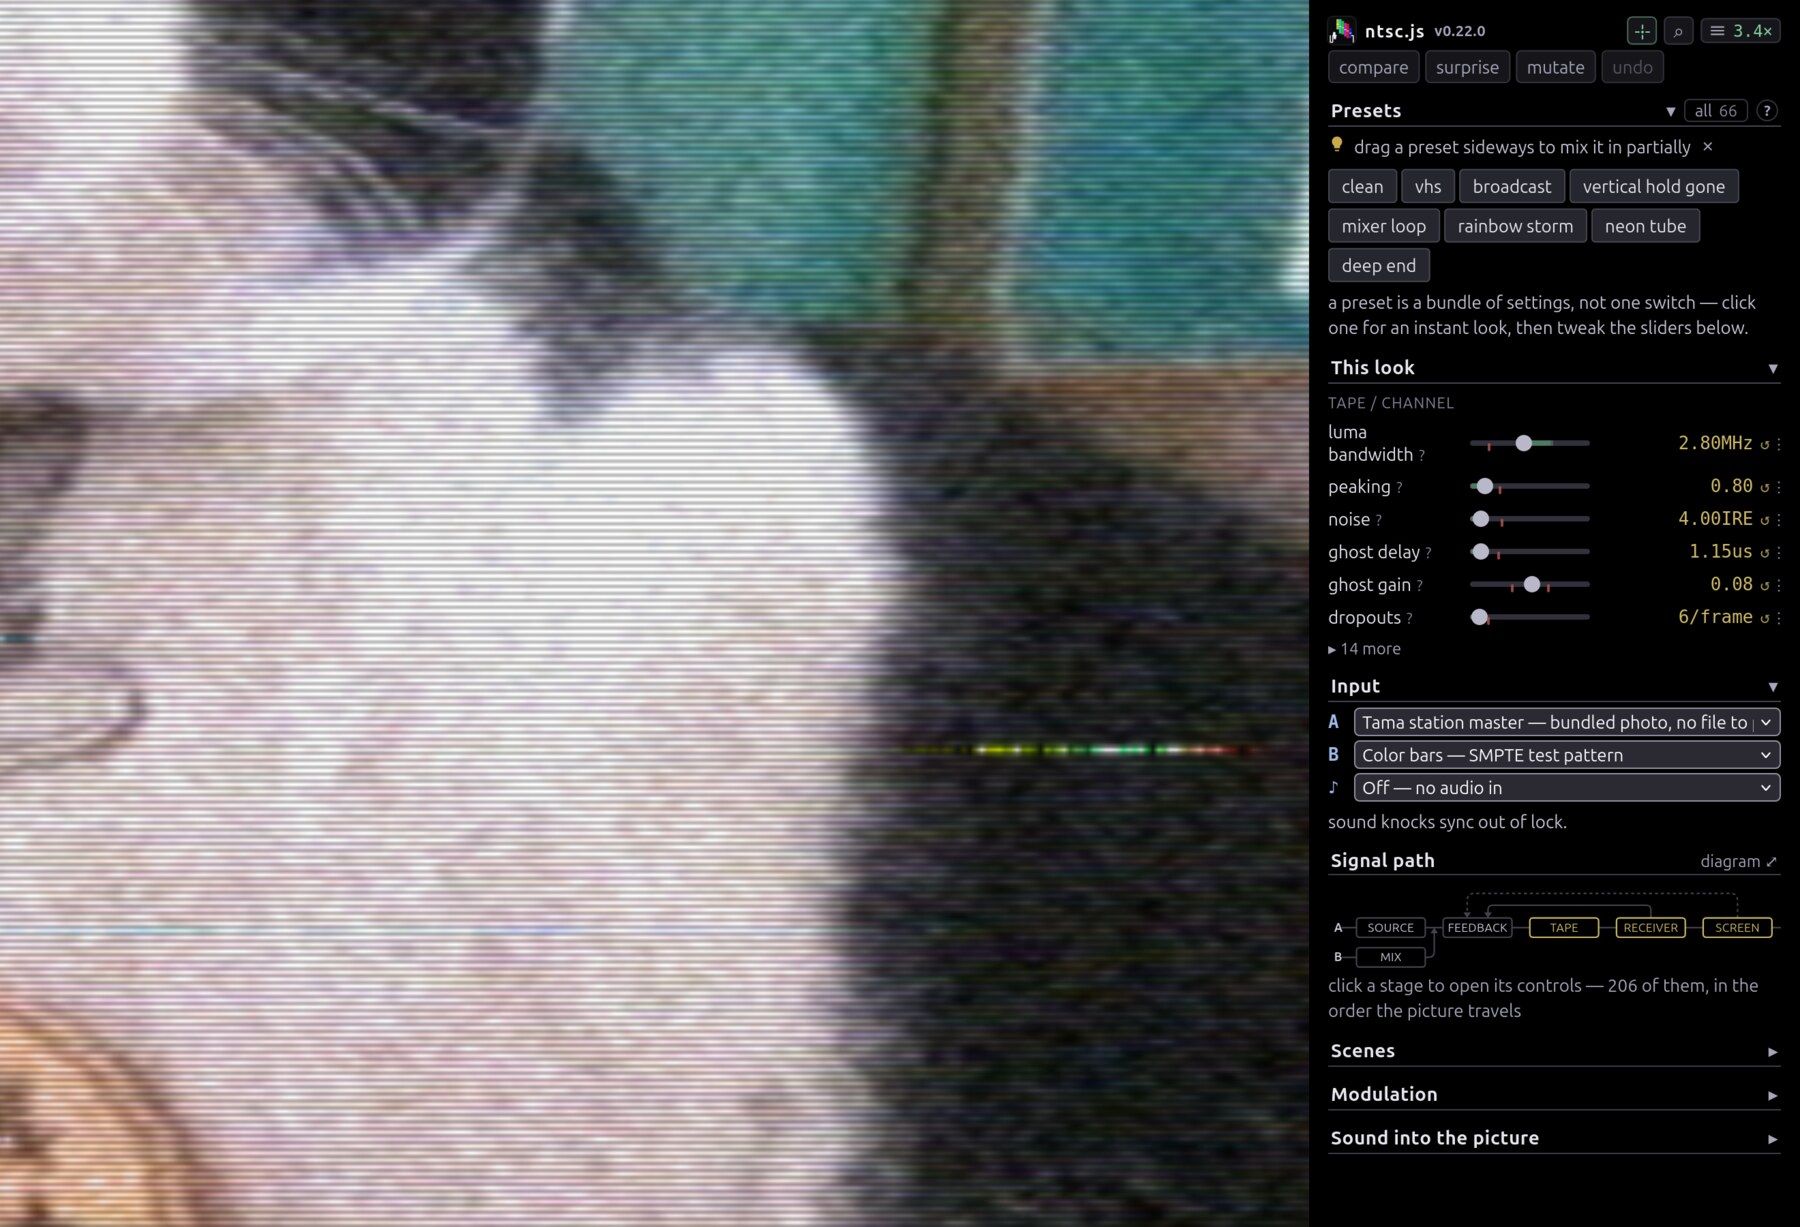
Drag a box to zoom, drag to pan once you're in, double-click to reset. The magnifier is part of the display, so it magnifies the lit tube face along with the picture: scan lines, mask and all. The Display miniature in the panel takes the same box. Which one a drag does is set by the crosshair button at the top right of the panel, and shift-drag is always the other one.
To watch the signal instead of the picture, use signal tap in the panel's View group. It steps through the composite waveform, luma, chroma energy, the decoder's burst state, the scope, and back to the picture. Whichever tap is live is named on the ☰ button, so a screen full of waveform never looks like a fault.
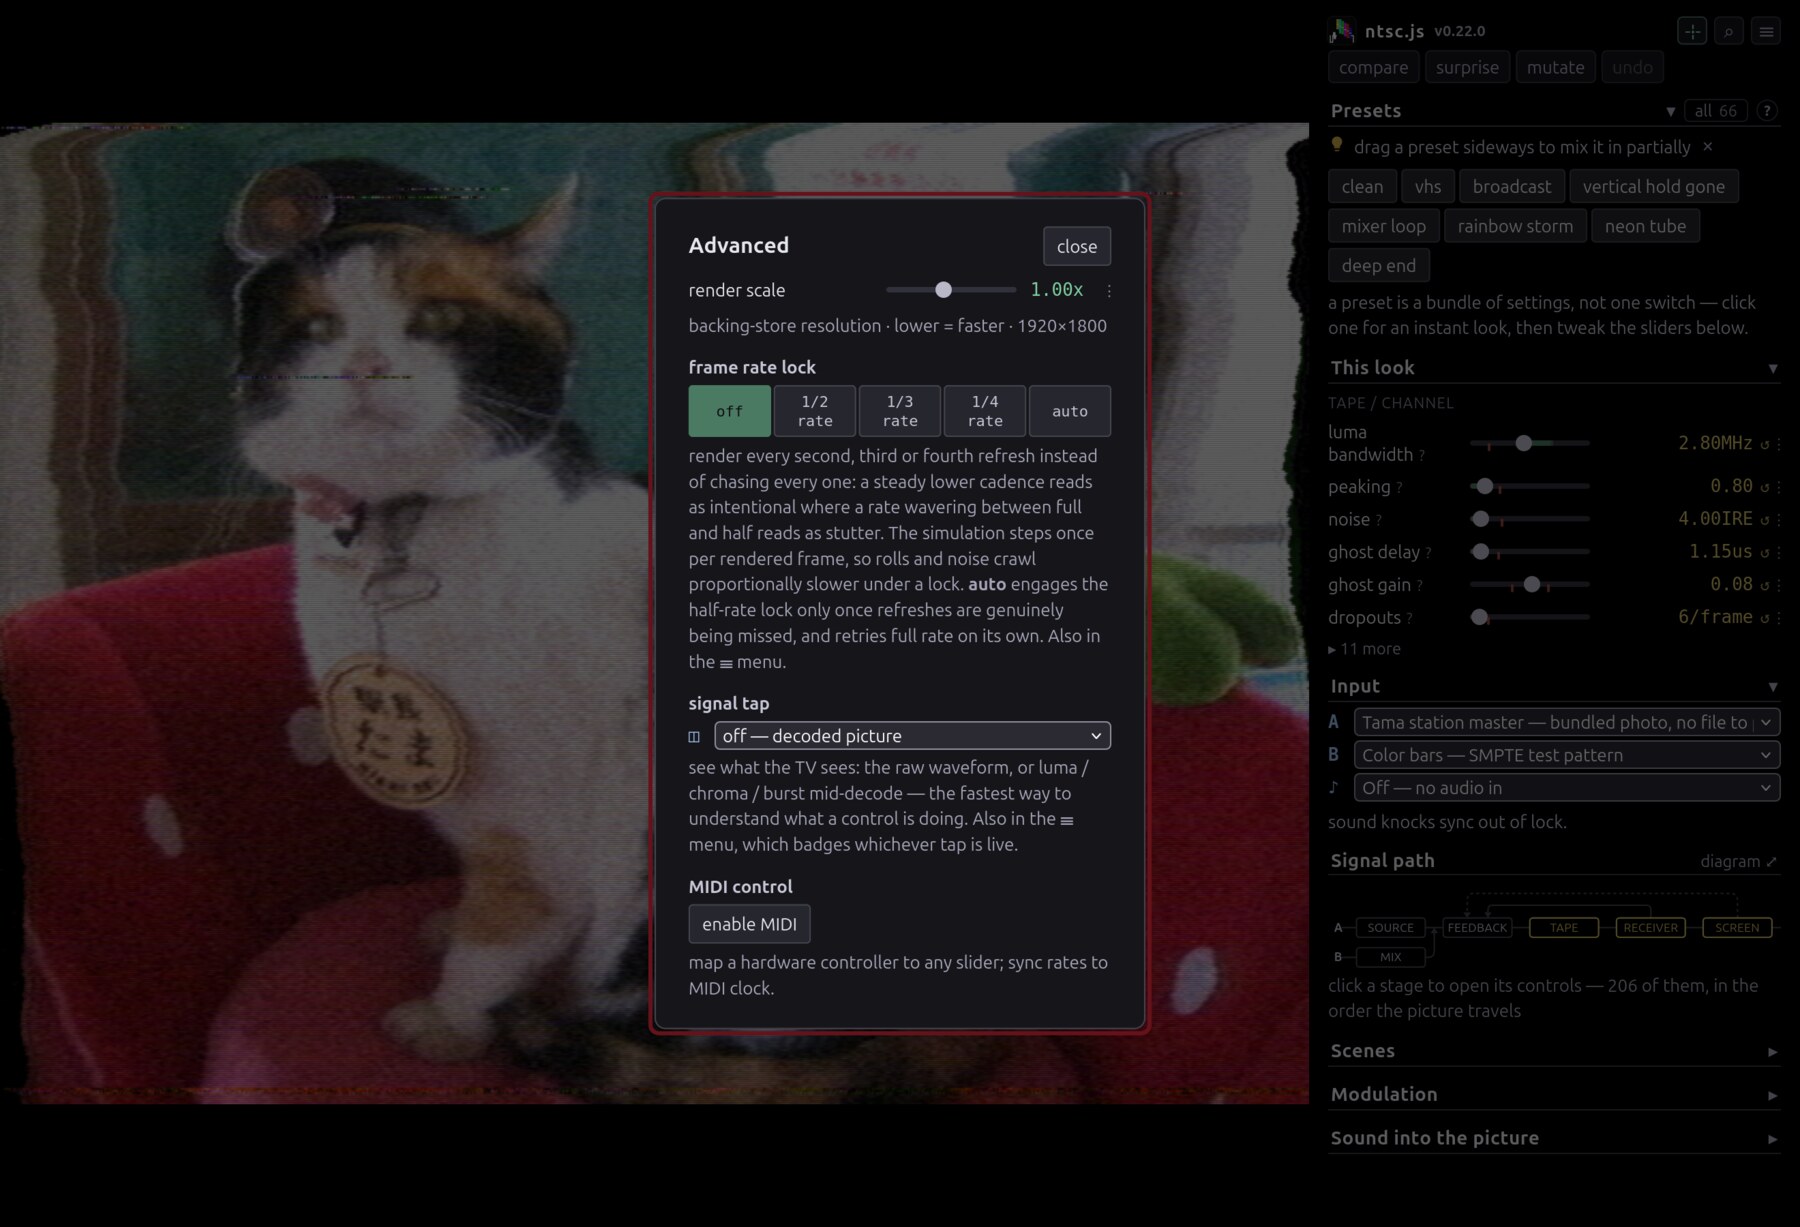
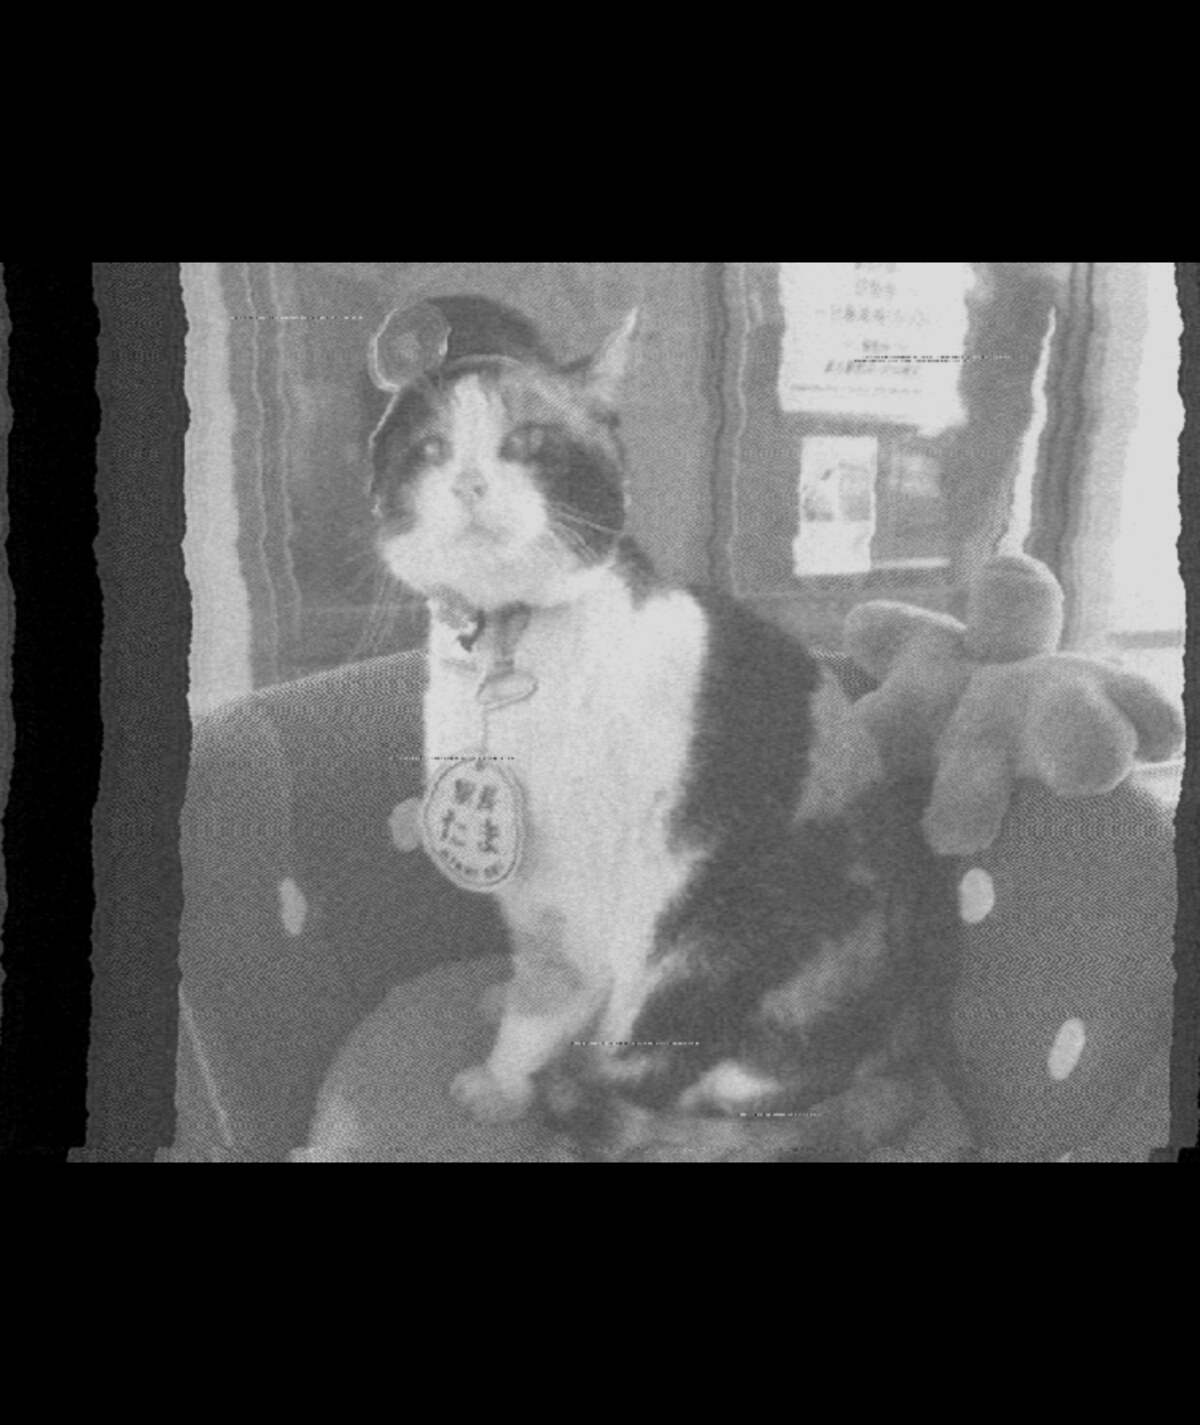
scope is the one to reach for first. It lays a single line out left to right, sync tip and burst included, against an IRE graticule, with the picture running dimmed above it. Sync depth, setup, the AGC pumping and a burst that has stopped being 40 IRE are all readable there rather than inferred. Turning a knob and watching the waveform change shape is the fastest way to understand it. render scale in the advanced dialog trades resolution for frame rate.
Getting it out#
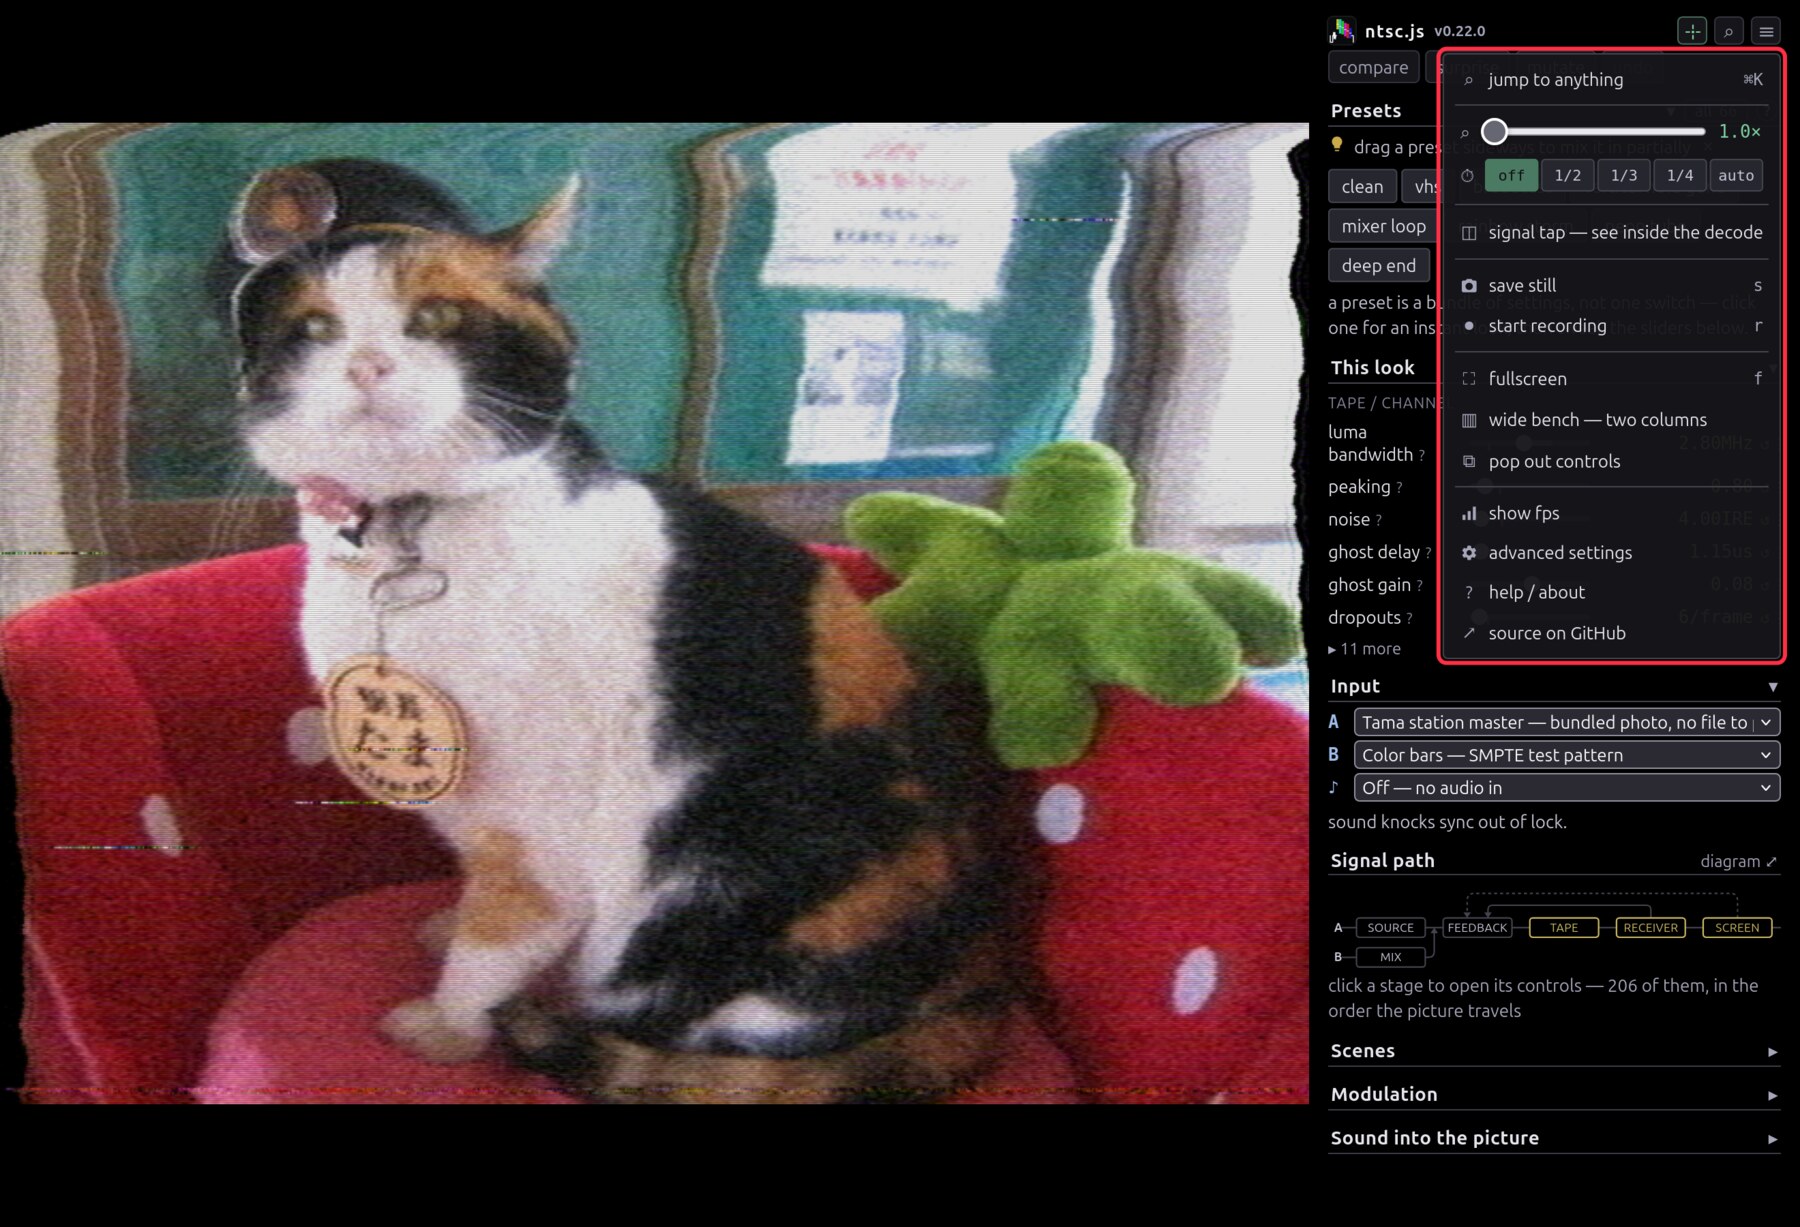
Stills, recording, fullscreen, and pop out controls, which moves the panel to a second window and gives the picture the whole screen. For anything you care about, point OBS at the picture window. It beats the in-browser recorder and follows the magnifier at full resolution.
Keyboard#
| Key | Does |
|---|---|
ctrl/⌘+k |
command palette |
c (hold) |
preview the clean signal |
r / s |
record a clip / save a still |
f |
fullscreen |
i |
cue a clip · press again to loop from there |
o |
stab back to the cue · +shift for source B |
1–9 / shift+1–9 |
recall / overwrite one of your first nine saves |
ctrl/⌘+z |
step back a look · +shift steps forward again |
esc |
close a dialog, cancel a MIDI arm, clear the filter |
Where next#
- EFFECTS.md — everything it does, control by control
- HOW-IT-WORKS.md — the signal path, pass by pass
- MIDI.md — setting up a controller
- DEVELOPMENT.md — running it locally, URL params, this page's screenshot harness